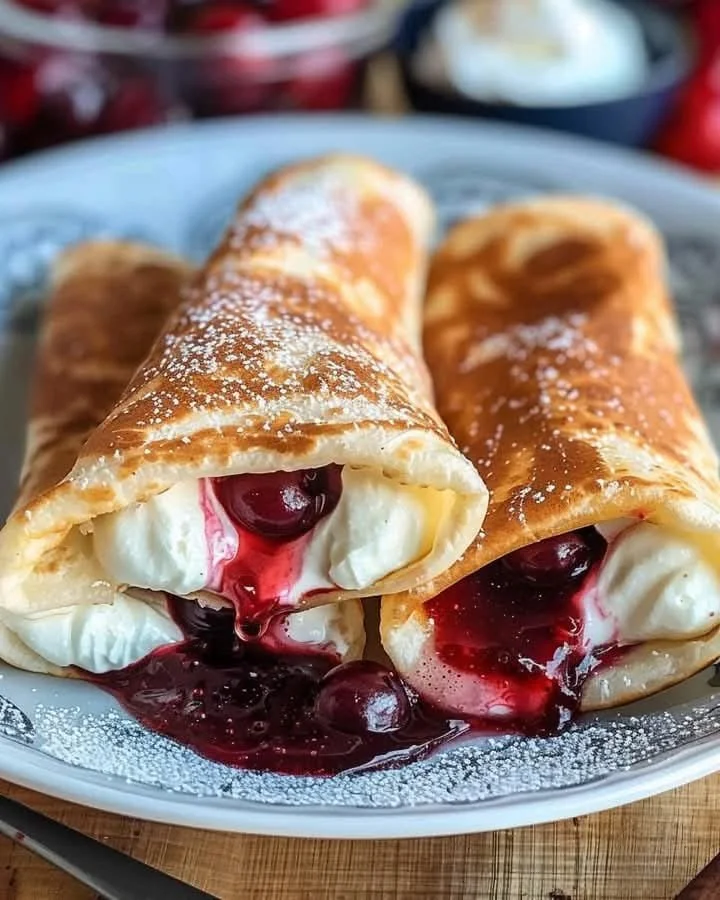
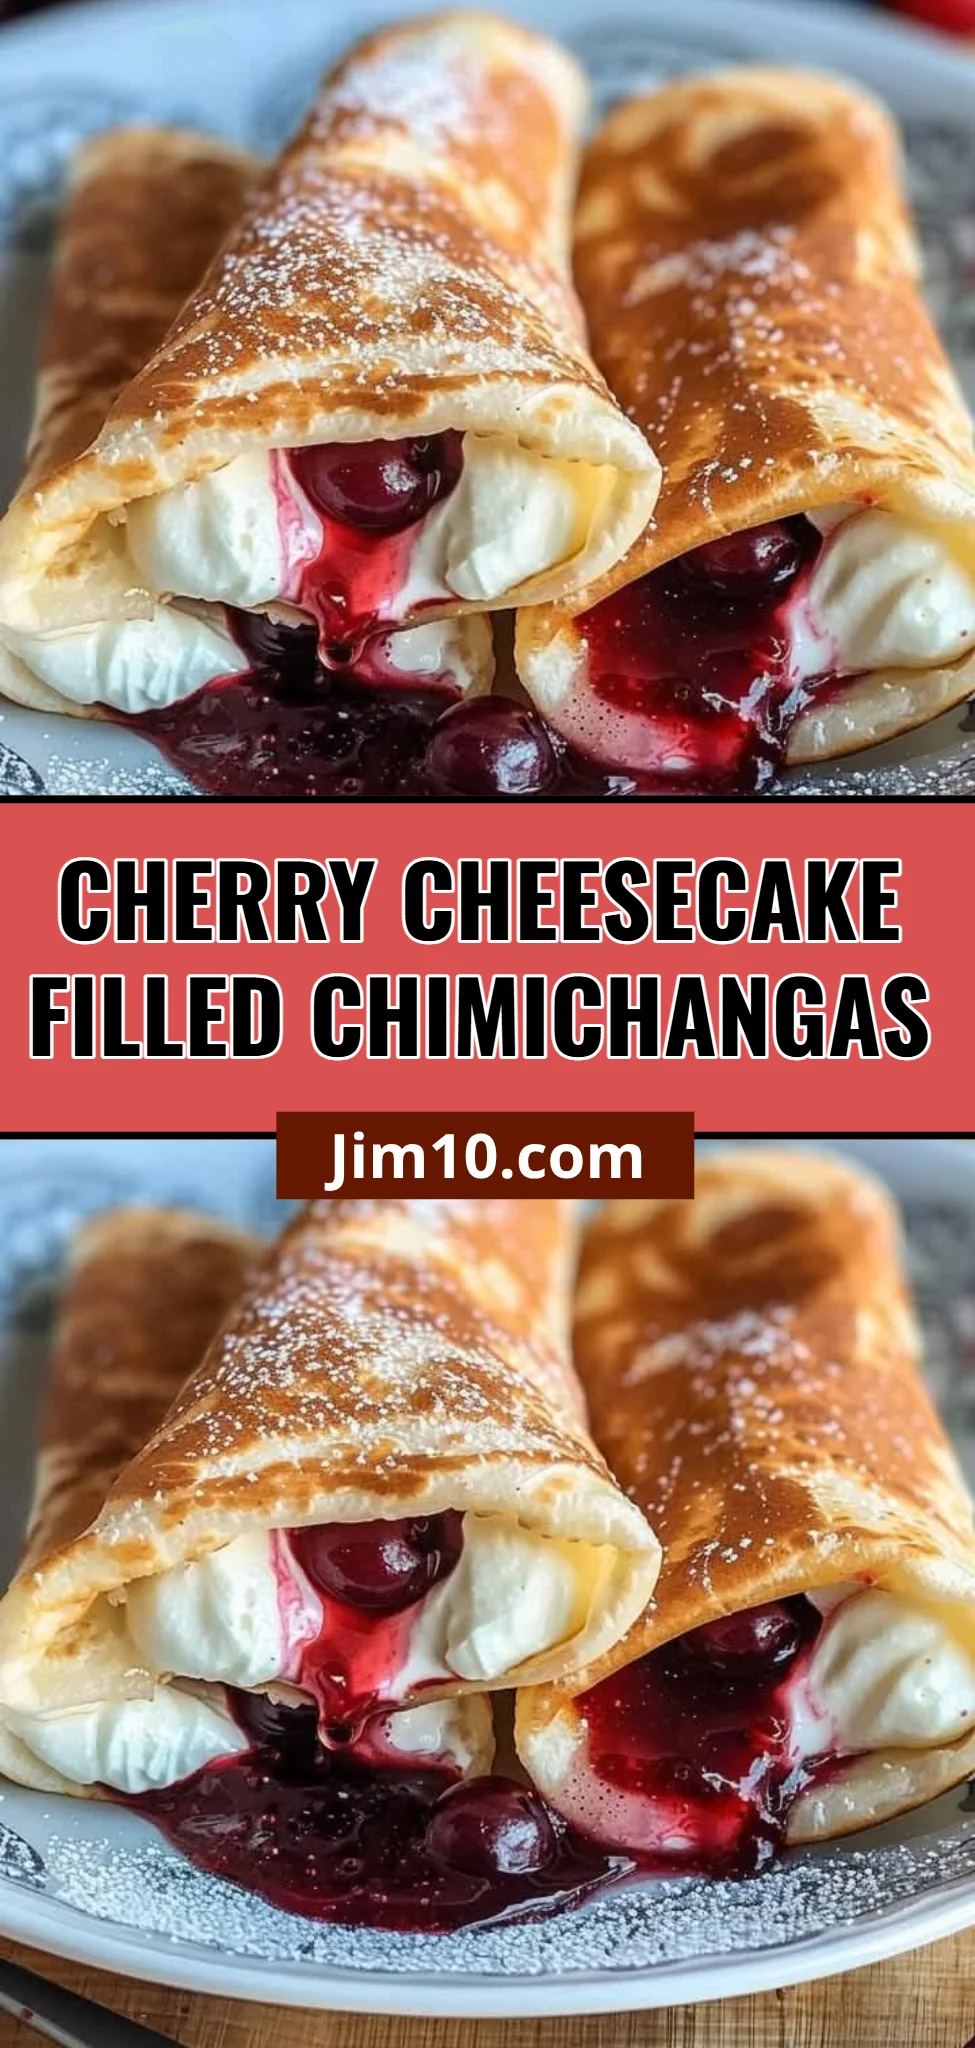
Cherry Cheesecake Chimichangas are the ultimate comfort food that will transport you to a cozy kitchen filled with nostalgia and warmth. Imagine indulging in a crispy, golden-brown tortilla, filled with rich and creamy cheesecake, and topped off with luscious cherry pie filling. This delightful dessert is not only easy to make but also brings families together, making it perfect for any occasion. In this Recipe, I’ll guide you through a Step-by-Step approach to creating these delicious treats that will leave everyone craving more!
When it comes to dessert, who can resist the combination of sweet, tart cherries and smooth cheesecake? The flavors blend beautifully together, and the crispy exterior of the chimichangas provides the perfect textural contrast. Serve them warm, dusted with cinnamon-sugar, or enjoy them with a dollop of whipped cream. You’ll quickly find that these Cherry Cheesecake Chimichangas are bound to become a favorite among your family and friends!
Ingredients
To whip up these delightful Cherry Cheesecake Chimichangas, gather the following ingredients:
- 6 (8-inch) flour tortillas – soft and pliable, these tortillas serve as the perfect wrapper for the creamy filling.
- 8 oz. cream cheese, softened – rich and velvety, this is the heart of your cheesecake filling.
- 4 tsp sugar – adds just the right amount of sweetness to balance the flavors.
- 1 tsp vanilla extract – aromatic and warm, it enhances the cheesecake’s flavor profile.
- 1.5 cups cherry pie filling – juicy and tangy, provides that irresistible burst of flavor.
- Vegetable oil for frying – necessary for achieving that golden, crunchy exterior.
- 1 tbsp cinnamon – a warm spice that adds depth to your dish.
- 1/2 cup sugar – to mix with cinnamon for a delightful finish.
Step-by-Step Directions
In a medium bowl, beat the softened cream cheese, sugar, and vanilla extract until smooth and creamy. You want to create a luscious filling that will melt in your mouth! Lay the flour tortillas on a flat surface and spread a generous spoonful of the cream cheese mixture in the center of each tortilla. Be sure not to overfill them, or they might burst during frying.
Next, add 2-3 tablespoons of cherry pie filling over the cream cheese mixture. The bright red cherries will make your chimichangas pop with color and flavor. Carefully roll up each tortilla, folding in the sides to seal the filling inside, creating that signature chimichanga shape.
In a large skillet, heat vegetable oil over medium heat for frying. Once the oil is hot—test it by dropping a small piece of tortilla in; it should sizzle—carefully place the chimichangas in the skillet. Fry for about 2-3 minutes on each side, until golden brown and crispy. This step is essential for achieving that delicious crunch that everyone loves!
Once fried, remove the chimichangas from the skillet and let them drain excess oil on a paper towel. In a small bowl, mix the cinnamon and sugar together and roll each chimichanga in the cinnamon-sugar mixture while still warm. This will create a beautiful, sweet crust around your dessert.
Serve with extra cherry pie filling or a dollop of whipped cream if desired, and enjoy the crispy, creamy, and sweet perfection that is Cherry Cheesecake Chimichangas!
Tips & Tricks
- Don’t rush the frying process. Make sure the oil is sufficiently hot before adding the chimichangas; this will ensure they turn golden brown and crispy without absorbing excess oil.
- Experiment with different fruit fillings! If cherries aren’t your favorite, try blueberries or strawberries for a delightful twist.
Serving Suggestions & Pairings
These Cherry Cheesecake Chimichangas are perfect for various occasions. Serve them at family gatherings, birthday parties, or even as a sweet treat after dinner. Pair them with a scoop of vanilla ice cream for an indulgent dessert or enjoy them with a cup of coffee or tea for a delightful afternoon snack.
Nutritional Information
Each chimichanga contains approximately 250 calories, 12g of fat, and 30g of sugar. While this dessert is a treat, moderation is key, and balancing it with healthier meals throughout the day will help maintain a well-rounded diet.
Storing Tips & Variations
For storing, wrap any leftover chimichangas tightly in plastic wrap and keep them in the refrigerator for up to 2 days. You can also freeze them for longer storage; just make sure they’re well-wrapped in airtight containers. To reheat, simply bake them in the oven at 350°F (175°C) for about 10-15 minutes until heated through and crispy again.
If you want to shake things up, consider adding chocolate chips to the cream cheese mixture or drizzling melted chocolate on top before serving!
Conclusion
Cherry Cheesecake Chimichangas are a fun and delicious way to enjoy a classic dessert in a new format. I encourage you to give this recipe a try and share your experiences! Whether you’re impressing guests or treating your family, these delightful chimichangas are sure to be a hit.
FAQs
-
Can I use low-fat cream cheese for this recipe?
Yes, low-fat cream cheese will work fine, although it might be a little less rich. -
How do I know when the oil is hot enough for frying?
You can test it by dropping in a small piece of tortilla; if it sizzles, the oil is ready. -
Can I make these chimichangas in advance?
Yes, you can prepare the filling and assemble the chimichangas ahead of time. Just fry them right before serving for the best texture! -
How do I make these chimichangas gluten-free?
You can use gluten-free tortillas instead of regular flour tortillas to make this dessert gluten-friendly. -
What can I substitute for cherry pie filling?
Feel free to use any fruit filling you like, such as blueberry, apple, or even a chocolate hazelnut spread for a different flavor profile!