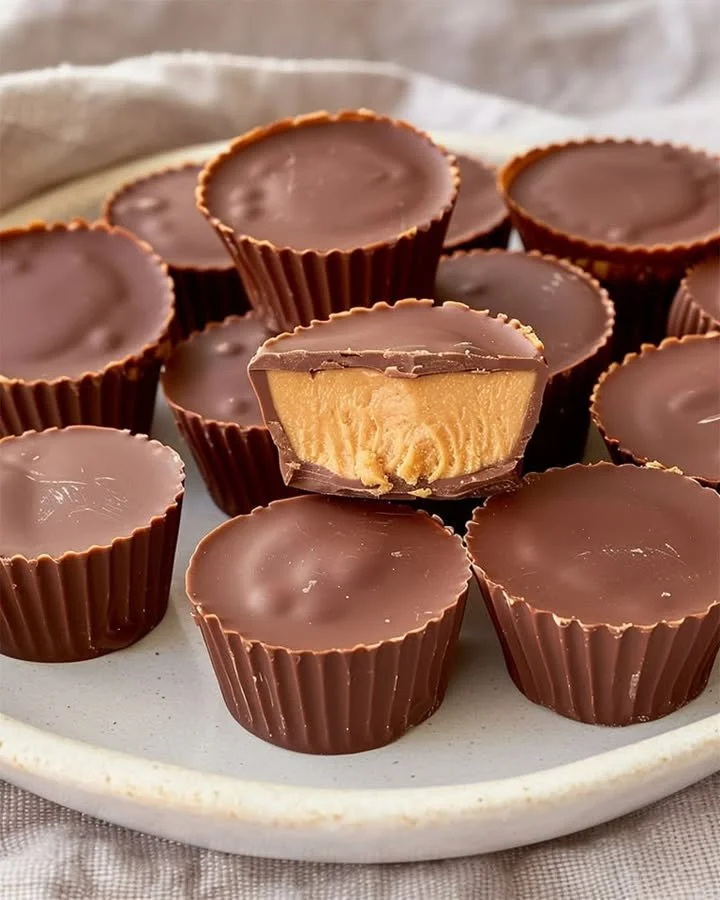
Homemade Chocolate Peanut Butter Cups are a delightfully rich and indulgent treat that effortlessly blends the flavors of creamy peanut butter and velvety chocolate. What could be better than a bite-sized dessert with a satisfying crunch as you nibble through each layer? Making these delightful cups at home is not only simple but also incredibly rewarding. With just a few ingredients, you can create a comforting snack that brings a smile to everyone’s face. Whether it’s a sweet addition to a party platter or a cozy treat for yourself, this recipe is a culinary adventure everyone can appreciate. Join me in this step-by-step guide to make your very own Homemade Chocolate Peanut Butter Cups that are sure to become a favorite in your household!
For this delightful recipe, you will need:
1 1/2 cups semisweet or dark chocolate chips – Rich and luxurious, the chocolate chips are the star of the show, providing an irresistible coating of smoothness.
1 tablespoon coconut oil (optional) – This ingredient adds a bit of sheen and helps the chocolate set beautifully.
1/2 cup creamy peanut butter – Silken and nutty, this peanut butter will deliver a delightful contrast to the sweet chocolate.
2 tablespoons powdered sugar – Sweet and fluffy, it balances the flavors and adds a touch of sweetness to the peanut butter.
1 tablespoon unsalted butter, softened – This ingredient enriches the peanut butter filling, giving it a luxurious, velvety texture.
1/4 teaspoon vanilla extract – Aromatic and fragrant, vanilla enhances the overall flavor experience of your cups.
Pinch of salt – Just a pinch enhances all the sweet and creamy elements of the treat.
Cooking time for Homemade Chocolate Peanut Butter Cups can vary depending on whether you choose to prepare them quickly or take your time with a more leisurely approach. For those looking to whip these up in no time, expect to spend about 30 minutes, plus a little extra for chilling. On the other hand, if you prefer to savor the process, you can take your time and enjoy each step. Practical tips for success include ensuring your ingredients are at room temperature for easier mixing, and it’s always best to have everything measured out before you start, making the process smooth and enjoyable.
Step-by-Step Directions:
-
Line a mini muffin tin with paper liners. This will not only make it easy to remove the cups later but also adds a delightful touch to each portion.
-
In a microwave-safe bowl, combine the chocolate chips and coconut oil. Microwave in 30-second increments, stirring well until fully melted. If you prefer a more traditional method, you can melt the chocolate in a double boiler for a smoother consistency.
-
In a small bowl, mix together the peanut butter, powdered sugar, softened butter, vanilla extract, and a pinch of salt until smooth. This creamy mixture is the secret to a luscious filling.
-
Spoon a small amount of the melted chocolate into each muffin liner, filling them about a third of the way. Tap the tin gently against the counter to help level the chocolate and ensure an even layer. Place the tin in the freezer for about 5 to 10 minutes to help it set.
-
Once the chocolate has hardened, roll a piece of the peanut butter mixture into a small ball and gently place it on top of the chocolate layer in each liner.
-
Top off each peanut butter ball with more melted chocolate, ensuring that it covers the filling completely. Tap the tin again to smooth the tops of the cups for a professional look.
-
Refrigerate the entire tray for 20 to 30 minutes until fully set. This final chilling step is crucial for achieving the perfect texture.
-
Once set, remove the cups from the liners and enjoy! Store any leftovers in an airtight container to keep them fresh.
Serving Homemade Chocolate Peanut Butter Cups is a piece of cake! They make a perfect dessert for parties, movie nights, or just a fun evening treat. Pair them with a glass of cold milk or a warm cup of coffee for a cozy experience. You can even serve them as delightful gifts during the holidays, beautifully arranged in a decorative box.
Common mistakes when making Homemade Chocolate Peanut Butter Cups include not letting the chocolate set properly between layers, which can lead to a messy filling. Additionally, ensure you don’t overheat the chocolate, as it can seize and become grainy. Always allow for sufficient cooling time; rushing this step may compromise the texture.
For those looking to make healthier alternatives, consider using dark chocolate for a less sweet, more sophisticated flavor, and look for natural peanut butter with no added sugars or oils. You can also experiment with alternatives like almond butter or sunflower seed butter for those with nut allergies.
FAQs:
-
Can I use milk chocolate instead of semisweet or dark chocolate?
Yes! However, it may result in a sweeter treat. -
How do I store leftover cups?
Keep them in an airtight container in the refrigerator for up to a week. -
Can I make these in larger or smaller sizes?
Absolutely! Adjust the muffin tin size accordingly and the cooking time may vary slightly. -
What if I don’t have coconut oil?
It’s optional, but if you don’t have it, just use more chocolate chips. -
Is this recipe easily adjustable for allergies?
Yes! Substitute the peanut butter for a sunflower seed or soy nut butter for a nut-free option. -
Can I add flavors to my peanut butter mixture?
Definitely! You can add cocoa powder, cinnamon, or even crushed cookies for different flavor profiles.
There’s nothing quite like Homemade Chocolate Peanut Butter Cups that beckons for a sweet treat. So, why not try crafting these indulgent cups in your own kitchen today? You’ll find that every bite is a delightful journey of flavor that is hard to resist, making it a perfect addition to your dessert repertoire!
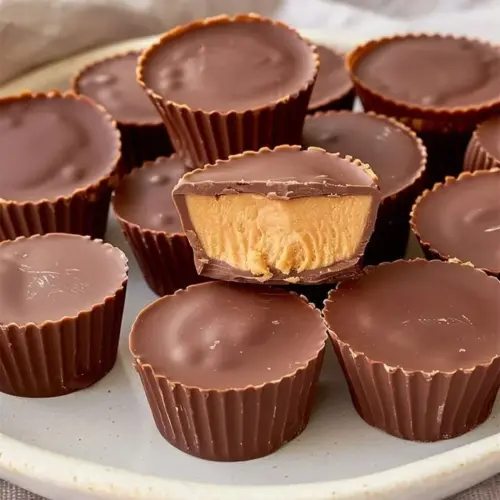
Chocolate Peanut Butter Cups
Ingredients
For the chocolate coating
- 1 1/2 cups semisweet or dark chocolate chips Rich and luxurious, provides an irresistible coating.
- 1 tablespoon coconut oil Optional, adds sheen and helps the chocolate set.
For the peanut butter filling
- 1/2 cup creamy peanut butter Delivers a delightful contrast to the sweet chocolate.
- 2 tablespoons powdered sugar Balances flavors and adds sweetness.
- 1 tablespoon unsalted butter Softened, enriches the filling.
- 1/4 teaspoon vanilla extract Enhances overall flavor.
- 1 pinch salt Enhances the sweetness and creaminess.
Instructions
Preparation
- Line a mini muffin tin with paper liners for easy removal.
- In a microwave-safe bowl, combine chocolate chips and coconut oil. Microwave in 30-second increments, stirring until fully melted. Alternatively, use a double boiler.
- In a small bowl, mix together peanut butter, powdered sugar, softened butter, vanilla, and a pinch of salt until smooth.
- Spoon a small amount of melted chocolate into each muffin liner, filling them about a third of the way. Gently tap the tin to level the chocolate.
- Place the tin in the freezer for about 5 to 10 minutes to help the chocolate set.
- Roll a small ball of the peanut butter mixture and place it on top of the chocolate layer in each liner.
- Top each peanut butter ball with more melted chocolate, covering completely. Tap the tin to smooth the tops.
- Refrigerate the tray for 20 to 30 minutes until the cups are fully set.
- Once set, remove the cups from the liners and enjoy!