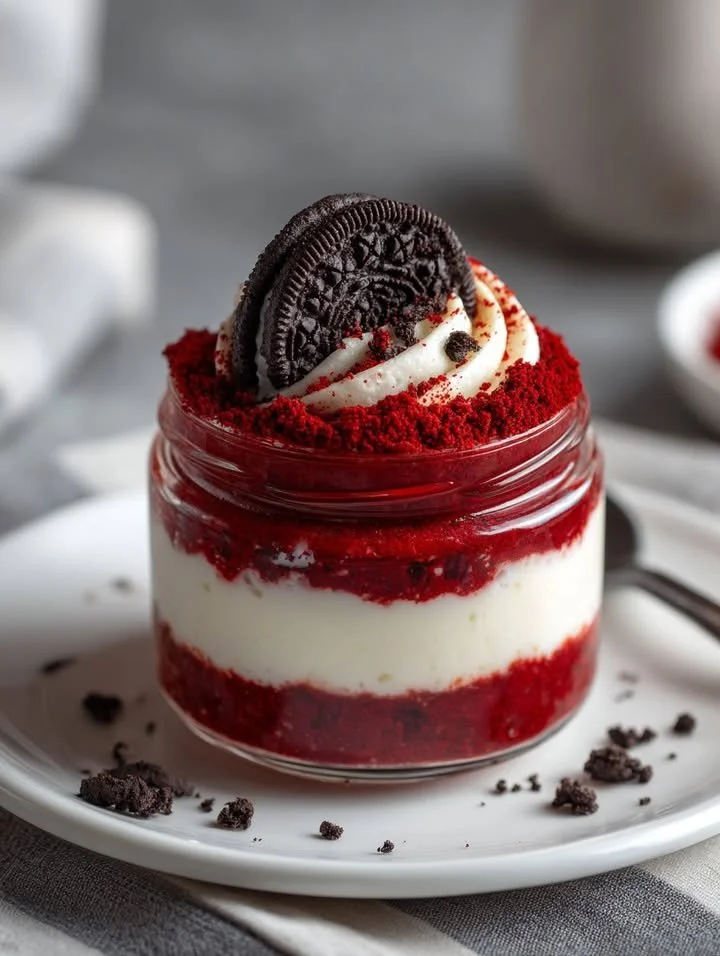
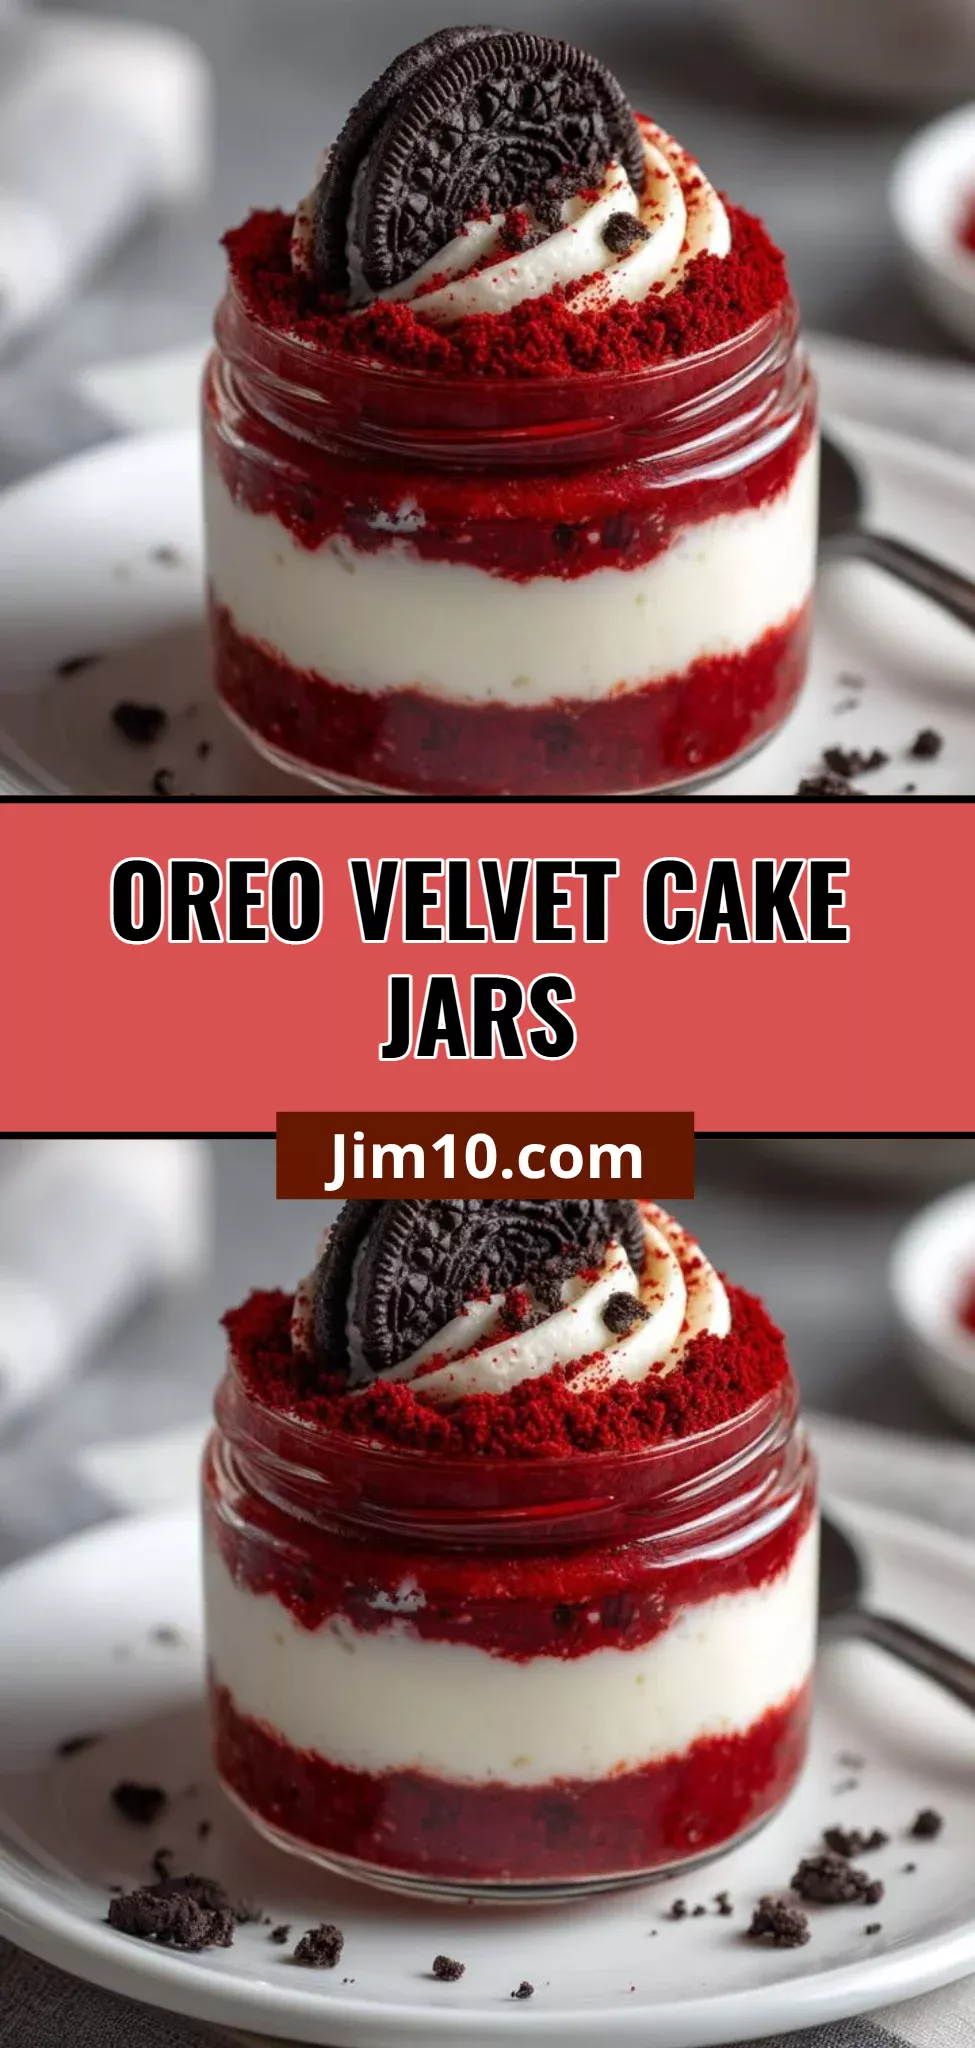
Red Velvet Oreo Cake Jars are the perfect dessert for anyone who craves a sweet treat that combines the rich, luxurious flavors of red velvet cake and the beloved crunch of Oreo cookies. This delightful dessert is not only visually stunning but incredibly comforting and nostalgic, making it an instant favorite for family gatherings or a cozy night in. The step-by-step process ensures that even novice bakers can whip up these indulgent treats with ease, allowing you to impress guests or simply satisfy your sweet tooth.
When it comes to making your own Red Velvet Oreo Cake Jars, you’ll need a few simple ingredients that come together to create a truly delectable experience. Start with a box of red velvet cake mix, which brings that signature velvety texture and deep crimson color. Pair that with fresh eggs, some oil for moistness, and water to bring it all together. Oreo cookies add a layer of delightful crunch and chocolatey goodness, while a rich cream cheese frosting adds the perfect creamy finish. The mix of flavors and textures is undeniably irresistible!
Ingredients
- 1 box red velvet cake mix: This tends to be light, moist, and fluffy.
- Eggs (as listed on the box): Fresh and full of protein to enrich the cake.
- Oil (as listed on the box): Adds moisture, keeping each bite tender and flavorful.
- Water (as listed on the box): Blends the ingredients beautifully.
- Oreo cookies: Crunchy, chocolaty, and stuffed with sweet cream.
- Cream cheese frosting: Creamy and rich, perfect for that creamy topping finish.
Cooking Time & Tips For Red Velvet Oreo Cake Jars
Understanding the difference between quick and slow preparation is crucial. Quick preparation means relying on boxed cake mixes, which save time and effort. Slow preparation might involve baking from scratch for those with more time or a desire for a specific flavor profile. Regardless of your method, remember to follow each step exactly for the best results. Be sure to cool your cake completely before crumbling it—this ensures the layers remain intact and it won’t melt the frosting on contact.
Choose high-quality ingredients that satisfy your cravings, and don’t hesitate to play with the proportions. The layering of the cake, Oreos, and frosting is where the magic happens, allowing you to personalize each jar.
Step-by-Step Directions
-
Prepare the red velvet cake mix according to the package instructions, using the specified amount of eggs, oil, and water. Blend it well until smooth, ensuring no lumps remain.
-
Bake the cake in a prepared pan, following the suggested baking time, then let it cool completely. Don’t be tempted to rush the cooling process—this is key for crumbling!
-
Once cooled, crumble the cake into small pieces, creating a fluffy and delectable base for your jars.
-
In small jars, layer the crumbled red velvet cake, generous spoonfuls of crushed Oreo cookies, and plush dollops of cream cheese frosting.
-
Repeat the layers until the jars are filled to the brim with this irresistible mixture.
-
Top each jar with additional Oreo crumbles or an extra swirl of frosting for a decorative finish.
-
Serve immediately or refrigerate until ready to enjoy. These jars are as beautiful as they are tasty, sure to wow on any party table!
Serving Suggestions & Occasions
These Red Velvet Oreo Cake Jars are perfect for any occasion! Serve them at birthday parties, holiday gatherings, or even as an indulgent treat for movie night. They are ideal for sharing with friends or family, providing a fun twist on traditional cake. Their portable nature makes them fantastic for picnics, potlucks, or a delightful surprise for a gathering. Plus, the vibrant colors and layers in the jars add an appealing visual element that is sure to elicit gasps of delight!
Common Mistakes For Red Velvet Oreo Cake Jars
One common mistake is not allowing the cake to cool completely before crumbling. This can lead to a gooey mess instead of distinct layers. Another pitfall is overfilling the jars—while they’re beautiful filled to the brim, too much can cause an explosion of ingredients when you’re ready to dig in. Lastly, not crushing the Oreos finely enough may result in chunky layers rather than smooth bites of crunch. Paying attention to these details will elevate your baking game!
Healthier Alternatives & Variations
To make your Red Velvet Oreo Cake Jars a bit healthier, consider using a sugar-free cake mix or a whole grain option. You can substitute Greek yogurt for some or all of the cream cheese frosting for a lighter version that doesn’t skimp on flavor. Additionally, try swapping out regular Oreos for a lower-calorie cookie or even a gluten-free variant for those with dietary restrictions. For a fun twist, add layers of fruit such as raspberries or strawberries to complement the rich red velvet and Oreo flavors.
FAQs
-
Can I make the cake from scratch instead of using a box mix?
Absolutely! If you have a favorite red velvet cake recipe, feel free to use it. -
How long do these jars last in the refrigerator?
They can be stored in an airtight container for up to 5 days. -
Can I freeze these cake jars?
Yes, you can freeze them for up to 3 months. Just be sure to thaw in the refrigerator before serving. -
What can I substitute for cream cheese frosting?
Whipped cream or a vanilla frosting are great alternatives! -
Can I use any other flavored cake mix?
Certainly! Try using chocolate, vanilla, or even funfetti for unique variations. -
How can I achieve sturdier layers?
Ensure each layer is evenly packed in the jar; this will help maintain their distinct layers when served.
Conclusion
There you have it! With these Red Velvet Oreo Cake Jars, dessert has never been so accessible or delightful. The ease of preparation combined with flavorful layers of red velvet, Oreo, and cream cheese frosting makes this recipe a must-try. They are perfect for sharing or keeping all to yourself. So grab your ingredients and get ready to indulge in a treat that will surely satisfy your cravings—try making them today!
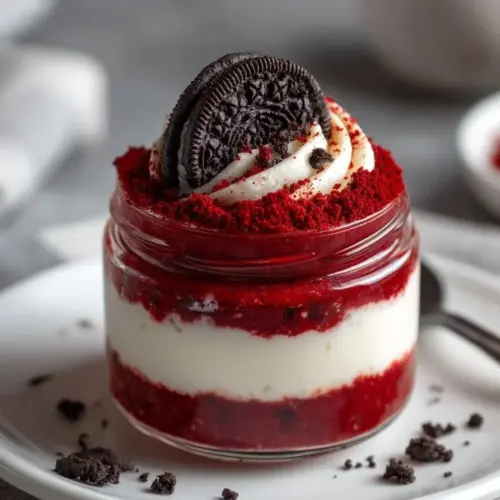
Red Velvet Oreo Cake Jars
Ingredients
For the Cake
- 1 box red velvet cake mix Light, moist, and fluffy.
- as listed count eggs Fresh and full of protein.
- as listed cup oil Adds moisture.
- as listed cup water To blend the ingredients.
For the Layers
- 1 pack Oreo cookies Crunchy and chocolaty.
- 1 cup cream cheese frosting Rich and creamy topping.
Instructions
Preparation
- Prepare the red velvet cake mix according to the package instructions, using the specified amount of eggs, oil, and water. Blend until smooth.
- Bake the cake in a prepared pan, following the suggested baking time, then let it cool completely.
- Once cooled, crumble the cake into small pieces.
Assembly
- In small jars, layer the crumbled red velvet cake, crushed Oreo cookies, and cream cheese frosting.
- Repeat the layers until the jars are filled.
- Top each jar with additional Oreo crumbles or a swirl of frosting.
- Serve immediately or refrigerate until ready to enjoy.