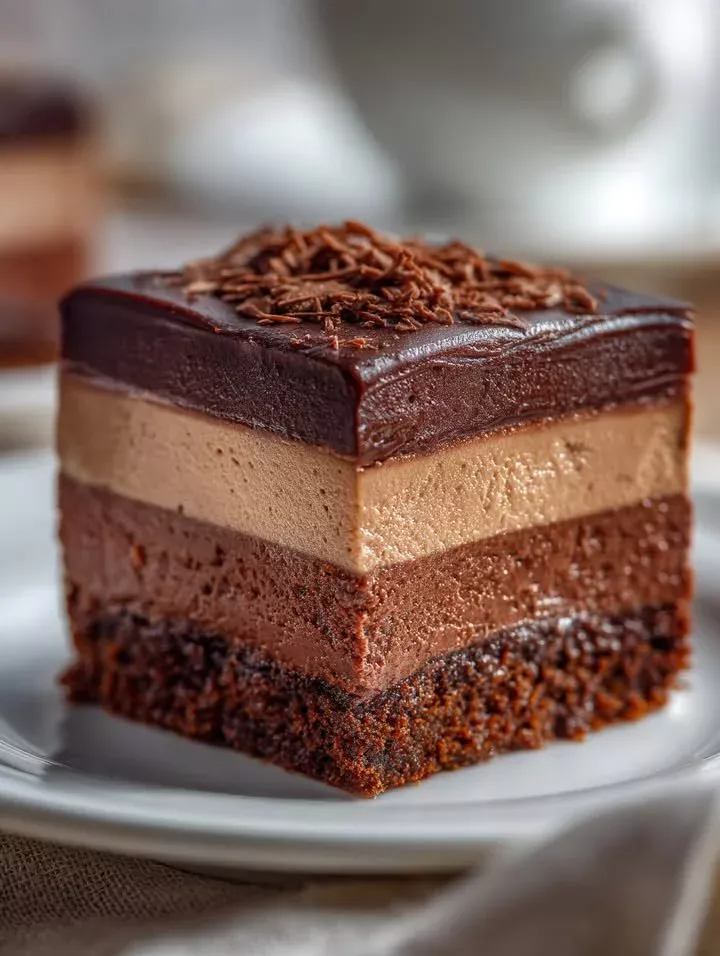
Chocolate Fudge Layered Dessert offers a delightful experience for anyone seeking a sweet finish to their meal. This indulgent treat boasts layers of creamy chocolate fudge, airy whipped cream, and a crunchy cookie crust that creates a symphony of textures and flavors in every bite. The comforts of this dessert evoke nostalgia, making it a beloved choice for family gatherings and special occasions. Plus, it’s astonishingly simple to prepare, ensuring you can whip it up quickly, allowing your loved ones to enjoy it sooner. With a clear, step-by-step approach, making this recipe is both fun and satisfying.
For the crust, gather 1 1/2 cups of crushed chocolate cookies, such as Oreos or chocolate graham crackers, and mix them with 1/4 cup of melted unsalted butter. This combination creates a rich, buttery base that sets the tone for the entire dessert. Next, you will need 1 cup of luscious chocolate fudge that adds a layer of deep, indulgent flavor. Complementing this, you’ll layer 2 cups of fluffy whipped cream to create a heavenly texture, and finally, for a touch of elegance, 1/2 cup of chocolate shavings to adorn the top of your creation, making it pleasing to both the palate and the eye.
Cooking Time & Tips For Chocolate Fudge Layered Dessert
When considering the preparation of your Chocolate Fudge Layered Dessert, the beauty lies in its flexibility. A quick preparation time of approximately 30 minutes allows you to assemble the dessert efficiently. However, for those who prefer a slow and deliberate process, take your time when layering the elements, ensuring each layer is perfectly smooth. The key to a successful dessert lies in letting it chill for at least two hours – this waiting period allows the flavors to meld and the layers to set, elevating your dish to new heights.
Practical tips for success: When crushing your chocolate cookies, aim for a fine crumb to enhance the texture of the crust. Use a rolling pin or food processor for ease. Make sure the melted butter is not too hot when combining, as it can affect the consistency of your crust. For a visually appealing presentation, use a serrated knife to cut through the layers cleanly.
Step-by-Step Directions
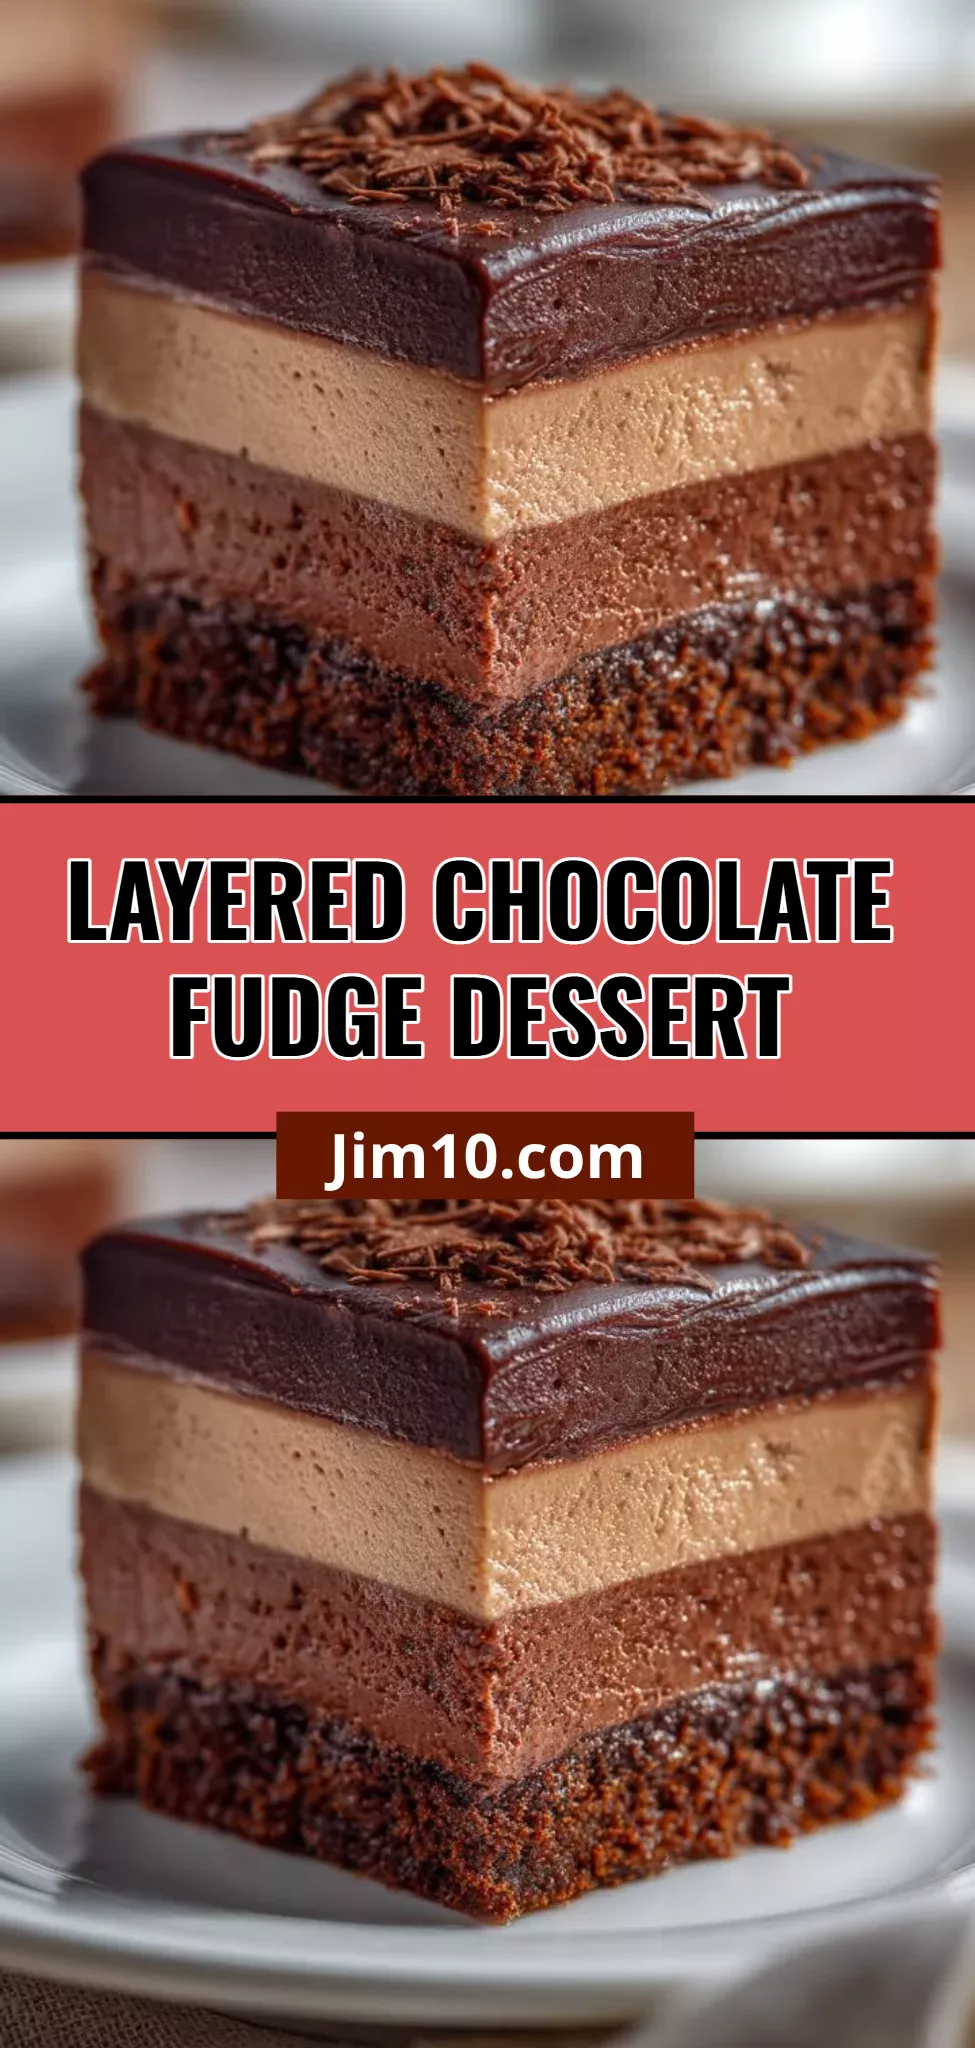
- Preheat your oven to 350°F (175°C). This initial step ensures your dessert bakes evenly and the crust is just right.
- In a mixing bowl, combine the crushed chocolate cookies and melted butter. Mix until the crumbs are coated—this will be your base! Press the mixture firmly into the bottom of a 9×9 inch square baking dish to create a solid crust that holds its shape. Bake for 10 minutes and allow it to cool completely.
- Once the crust has cooled, spread the chocolate fudge evenly over the crust, creating a smooth layer of rich chocolatey goodness.
- Carefully layer the whipped cream over the fudge, smoothing it out to cover completely. This adds a gorgeous fluffy layer that balances the richness of the fudge.
- Refrigerate for at least 2 hours to set, allowing the flavors to harmonize beautifully.
- Before serving, sprinkle chocolate shavings over the top for an elegant touch. Enjoy your beautiful and delicious dessert with friends and family!
Serving Suggestions & Occasions
Chocolate Fudge Layered Dessert is incredibly versatile when it comes to serving occasions. It’s perfect for holiday gatherings, birthday parties, or any celebration that calls for something sweet. You can present this dessert in elegant dessert cups for a chic look or serve it in squares directly from the baking dish for casual family dinners. Pair it with a scoop of vanilla ice cream or fresh berries for an added contrast of flavors and temperatures that elevate the experience.
Common Mistakes For Chocolate Fudge Layered Dessert
One common mistake when making Chocolate Fudge Layered Dessert is not allowing the crust to cool adequately before adding the fudge. This can result in a melted fudge layer that disrupts the layering effect. Additionally, overmixing the whipped cream can lead to a denser texture, losing the light, airy quality that balances the dish. Lastly, be sure to let the dessert chill for enough time; impatience can lead to a dessert that doesn’t hold its shape when served.
Healthier Alternatives & Variations
If you’re looking to lighten up this delicious dessert, consider using low-fat cream cheese or Greek yogurt in place of whipped cream for a tangy twist that lowers the calorie count. You could also swap the crushed chocolate cookies for crushed nuts or whole-grain cookies for a more nutritious base. For a different flavor profile, try adding layers of fruit, like sliced bananas or strawberries, to shift the balance of flavors and add a refreshing note.
FAQs
-
Can I make this dessert ahead of time?
Yes, this dessert can be made a day in advance. In fact, it often tastes better after chilling overnight! -
What if I can’t find chocolate fudge?
You can easily make your own chocolate fudge at home by melting chocolate with sweetened condensed milk on low heat until smooth. -
Can I use a different type of cookie for the crust?
Absolutely! Feel free to experiment with different cookies, such as vanilla wafers or even gluten-free options. -
How long can I store leftovers?
Leftovers can be stored in the refrigerator for up to three days, although the texture may change slightly. -
Is there a non-dairy version of this recipe?
Yes! You can use dairy-free whipped cream and non-dairy chocolate fudge to create a vegan version of this delicious dessert. -
Can I garnish it differently?
Certainly! Feel free to add fresh fruit, caramel drizzle, or nuts on top for an additional flavor dimension.
Conclusion
Now that you have all the essential details for making the unforgettable Chocolate Fudge Layered Dessert, it’s time to gather your ingredients and start creating this layered dream! With its creamy, chocolatey layers and easy preparation, it’s an irresistible treat that’s perfect for any occasion. Your friends and family will definitely be asking for seconds, and who knows? It might just become a staple in your dessert repertoire. Get ready to dig in and enjoy every sweet bite!