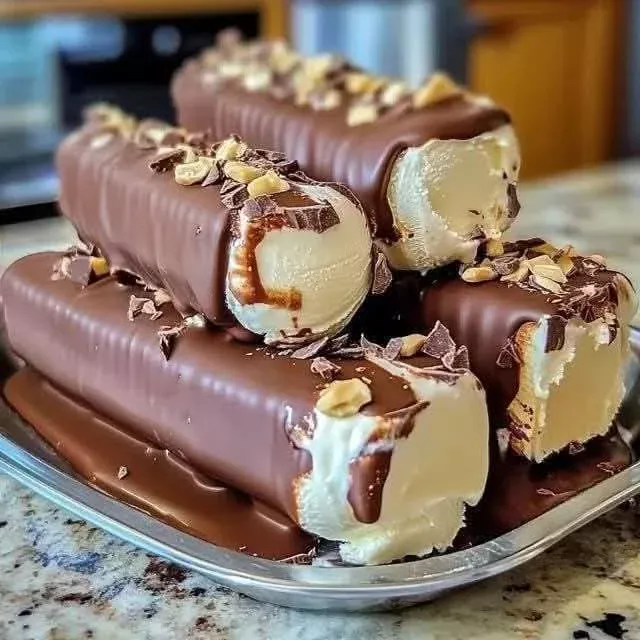
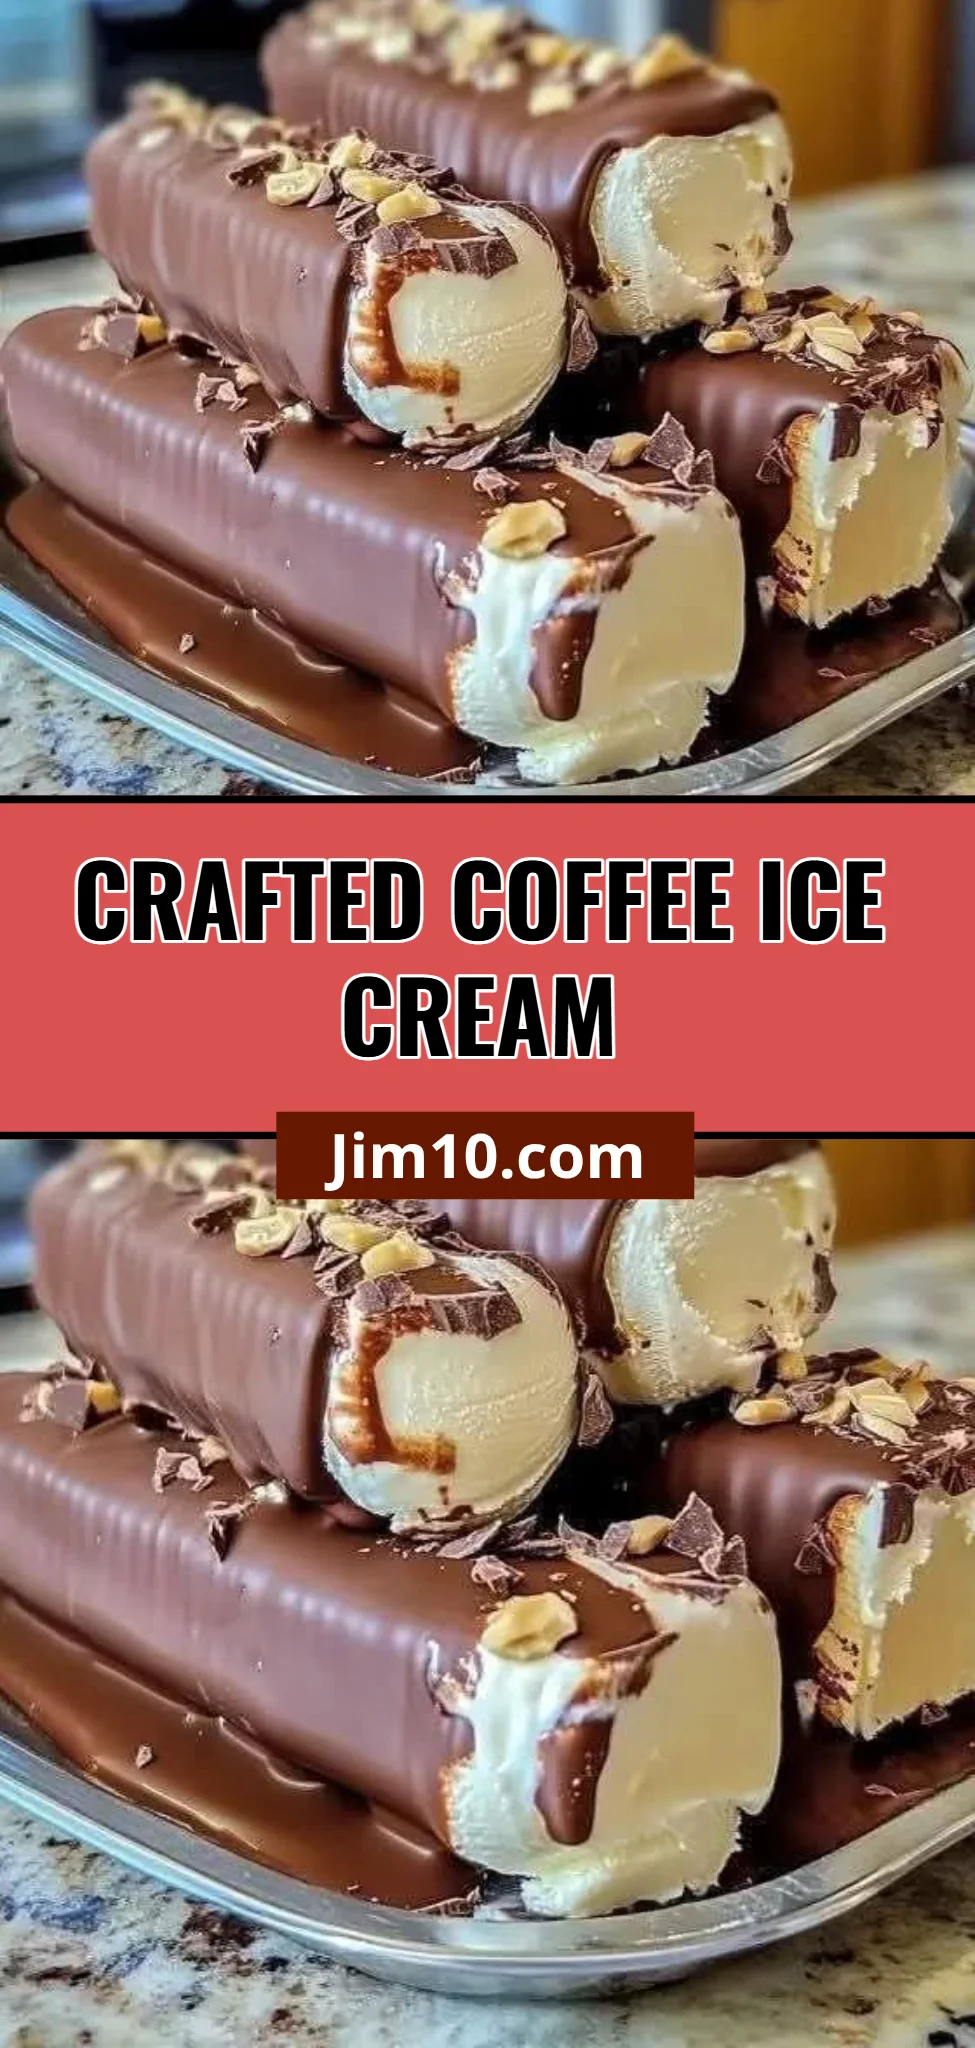
Homemade Coffee Ice Cream is a delightful treat that brings the rich and aromatic flavors of coffee right to your dessert bowl. This creamy, dreamy ice cream is not only easy to make but also perfect for hot summer days or cozy nights at home. With just a few basic ingredients, you can whip up a batch that will leave you dreaming of your next scoop. The beauty of this recipe lies in its simplicity and the step-by-step process that guarantees delicious results each time. Whether you are a coffee lover or someone looking for an indulgent treat, Homemade Coffee Ice Cream will become a favorite in your household.
Ingredients
To create this luscious Homemade Coffee Ice Cream, you’ll need:
- 2 cups heavy cream: This gives the ice cream its rich, luxurious texture that will melt in your mouth.
- 1 cup whole milk: Adding creaminess and a silky quality, whole milk is perfect for achieving that smooth consistency.
- 3/4 cup granulated sugar: The sugar not only sweetens but also helps to create a superbly smooth texture.
- 1/2 cup brewed coffee: The star of the show! Use your favorite brew for a personal touch that enhances the flavor profile.
Each of these ingredients works in harmony to deliver an ice cream experience that is both satisfying and refreshing. The heavy cream creates a velvety mouthfeel, while the brewed coffee infuses each bite with its deeply satisfying aroma and taste.
Step-by-Step Directions
-
In a mixing bowl, combine the heavy cream, whole milk, granulated sugar, and brewed coffee. Whisk until the sugar is completely dissolved. This step is crucial to ensure that your ice cream has a consistent sweetness throughout.
-
Pour the mixture into an ice cream maker and churn it according to the manufacturer’s instructions until it’s nice and creamy, reaching a soft-serve consistency. This process introduces air into the mixture, making it light and fluffy.
-
Transfer your luscious ice cream to an airtight container and pop it in the freezer for at least 4 hours (or until solid). This freezing phase allows the ice cream to firm up to that perfect scoopable texture.
-
Once it’s firm, scoop it into a bowl, serve, and get ready to enjoy your homemade coffee ice cream bliss! The moment you take that first bite will be nothing short of heavenly.
Tips & Tricks
For an extra flavor dimension, consider adding a splash of vanilla extract to the base mixture. This will elevate the vanilla notes, complementing the deep coffee flavor beautifully. Experimenting with different coffee blends can also yield exciting variations in flavor. You might prefer a mild roast for subtle notes or a bold roast for a more intense kick.
Serving Suggestions & Pairings
Homemade Coffee Ice Cream is delicious on its own but also pairs wonderfully with a range of desserts. Consider serving it as an accompaniment to warm chocolate brownies, or alongside a slice of creamy cheesecake for a delightful contrast. It works beautifully as a topping for a decadent affogato, drizzling hot espresso over a scoop.
This ice cream is particularly great for gatherings, and summertime barbecues or simply as a treat for yourself on a cozy night in. You can also serve it with a sprinkle of cocoa or chocolate shavings for an elevated presentation
Nutritional Information
In a typical serving of Homemade Coffee Ice Cream (1/2 cup), you can expect roughly:
- Calories: 250
- Total Fat: 15g
- Saturated Fat: 10g
- Carbohydrates: 25g
- Sugars: 20g
- Protein: 3g
As with all desserts, balance is key. Enjoy in moderation alongside a well-rounded diet!
Storing Tips & Variations
To store your Homemade Coffee Ice Cream, keep it in an airtight container to prevent freezer burn. It can last up to 2 weeks in the freezer, but be warned; it might not last that long! If you want to mix things up, consider adding chocolate chips, caramel swirls, or even nuts into your base mixture before freezing for added texture and flavor.
You can also try making a coffee ice cream float by serving it with your choice of root beer or soda for a fun twist.
Conclusion
Homemade Coffee Ice Cream is not just a recipe; it’s an experience filled with rich, comforting flavors that evoke memories of coffee shops and sweet gatherings. I encourage you to try this simple yet indulgent dish and get lost in its velvety sweetness. When you do, share your experience with others. It’s a perfect recipe to create delicious memories, one scoop at a time.
FAQs
-
Can I use decaf coffee for this recipe?
Absolutely! If you prefer to limit your caffeine intake, decaf coffee will work just as well and still deliver delightful flavors. -
What type of coffee works best?
Personal preference plays a huge role. Some love the smooth notes of a light roast, while others savor the bold, robust flavors of dark roast. Choose what you enjoy most! -
Do I need an ice cream maker?
While an ice cream maker simplifies the process, you can make ice cream without one. Simply freeze the mixture in a container, removing it every 30 minutes to stir it until it’s fully frozen. -
Can I add mix-ins like chocolate chips?
Yes! Feel free to fold in chocolate chips, nuts, or even a swirl of caramel once the ice cream has reached a soft-serve consistency. Then, just transfer to the container and freeze. -
Can I make this recipe vegan?
Definitely! Substitute the heavy cream and whole milk with coconut cream and almond milk or another plant-based milk of your choice. Use a plant-based sugar alternative if necessary.
With this guide in hand, it’s time to dive into making your own Homemade Coffee Ice Cream—an irresistible treat just waiting for you!
Homemade Coffee Ice Cream
Ingredients
Base ingredients
- 2 cups heavy cream Gives the ice cream its rich, luxurious texture.
- 1 cup whole milk Adds creaminess and a silky quality.
- 3/4 cup granulated sugar Sweetens and helps create a smooth texture.
- 1/2 cup brewed coffee Use your favorite brew for enhanced flavor.
Instructions
Preparation
- In a mixing bowl, combine the heavy cream, whole milk, granulated sugar, and brewed coffee. Whisk until the sugar is completely dissolved.
- Pour the mixture into an ice cream maker and churn according to the manufacturer’s instructions until it’s creamy and at a soft-serve consistency.
- Transfer the ice cream to an airtight container and freeze for at least 4 hours or until solid.
- Once firm, scoop the ice cream into a bowl, serve, and enjoy your homemade coffee ice cream!