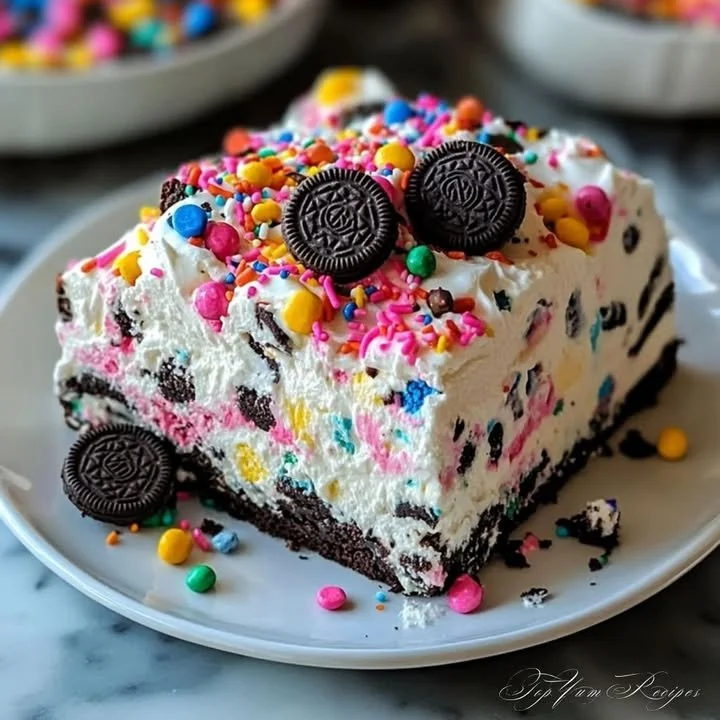
Easy No-Bake Funfetti Oreo Icebox Cake is a delightful dessert that whisks you back to childhood celebrations filled with laughter and sweetness. This cake is a twist on traditional icebox cakes, seamlessly combining the rich, velvety texture of cream cheese and whipped cream with the irresistible crunch of Oreo cookies. Not only is this dessert incredibly easy to make, but it also serves as an impressive centerpiece for family gatherings or birthday parties. With just a handful of ingredients and a simple step-by-step method, you can create a comforting treat that everyone will adore.
Ingredients
To craft this delightful Easy No-Bake Funfetti Oreo Icebox Cake, you will need:
- 1 package (405 g) Oreo cookies: The chocolaty, crispy layers of these cookies offer a satisfying crunch that perfectly complements the creamy filling.
- 240 ml heavy cream: This decadent, rich cream will be whipped to airy perfection, creating a luscious and indulgent layer in your cake.
- 120 g powdered sugar: This fine, sweet powder will help stabilize the whipped cream while adding just the right amount of sweetness.
- 225 g cream cheese, softened: This creamy, tangy ingredient brings a delightful richness that pairs beautifully with the other flavors.
- 1 teaspoon vanilla extract: A splash of this aromatic extract enhances the cake’s overall flavor, adding a warm and inviting aroma.
Step-by-Step Directions
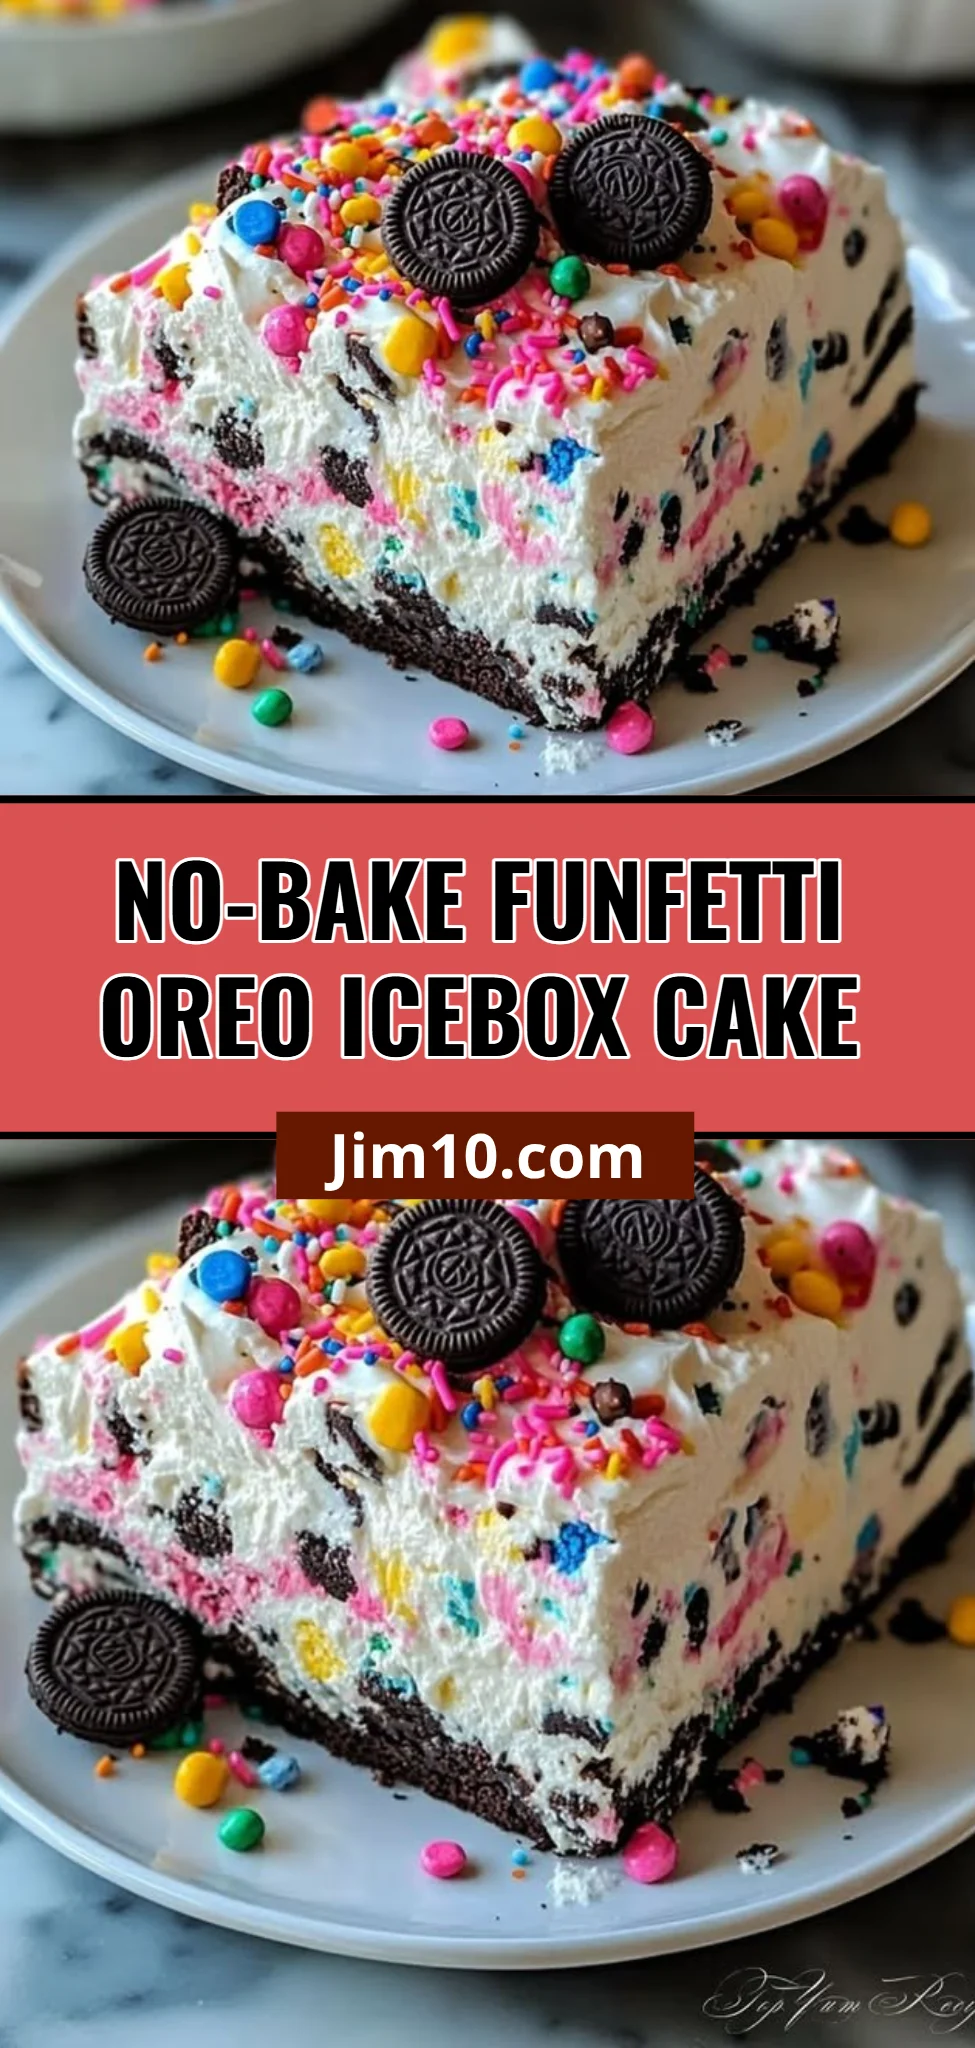
Step 1: Crush half of the Oreo cookies and set aside. You can place them in a zip-top bag and use a rolling pin to gently break them into small pieces, creating a lovely crumbly texture that will add both flavor and crunch to your layers.
Step 2: In a bowl, whip the heavy cream and powdered sugar until soft peaks form. This step is crucial for achieving that light and fluffy consistency that makes icebox cakes so unique.
Step 3: In another bowl, beat the cream cheese and vanilla extract until smooth. Ensure that there are no lumps, allowing for a perfectly creamy mixture.
Step 4: Fold the whipped cream into the cream cheese mixture. Be gentle while folding to maintain the airy texture of the whipped cream.
Step 5: In a baking dish, layer the crushed Oreos, followed by a cream layer. Repeat this process until all ingredients are used up, ensuring that the final layer is the cream mixture for a beautiful presentation.
Step 6: Finish with a layer of cream on top and sprinkle with the remaining crushed Oreos. This topping will not only add an appealing look but will also enhance the flavor.
Step 7: Refrigerate for at least 4 hours or overnight before serving. Allowing the cake to set will help the layers meld together beautifully, making each slice a delightful experience.
Tips & Tricks
For an extra hint of flavor, consider adding some sprinkles to the cream mixture for a fun, festive touch. If you want to create a more decadent experience, try incorporating layers of crushed candy bars or fruits between the cream and Oreo layers. For those who prefer a less sweet dessert, reduce the amount of powdered sugar slightly. Additionally, using double-stuffed Oreos will give a richer flavor and creamier texture.
Serving Suggestions & Pairings
This Easy No-Bake Funfetti Oreo Icebox Cake is perfect for any occasion, whether hosting a birthday party, family gathering, or casual get-together with friends. Serve it alongside fresh berries or a scoop of vanilla ice cream for added indulgence. For a drink pairing, consider a light sparkling water or a cup of herbal tea to complement the cake’s sweetness.
Nutritional Information
This delightful cake offers a rich flavor experience, but keep in mind moderation is key. Each serving can be approximately 350-400 calories, depending on the portion size. While indulging occasionally is a part of a balanced diet, it’s important to enjoy treats like this in moderation. Remember to pair it with nutritious foods to maintain a healthy lifestyle.
Storing Tips & Variations
To store your Easy No-Bake Funfetti Oreo Icebox Cake, cover it tightly with plastic wrap or aluminum foil to keep it fresh in the refrigerator. It can last for up to 5 days. If you want to make it ahead of time, feel free to prepare it a day or two before your gathering, as it typically tastes even better after chilling. For variations, consider using flavored cream cheese such as strawberry or pumpkin spice, or substitute regular Oreos with seasonal cookies like pumpkin or mint crème for a twist on the classic.
Conclusion
This Easy No-Bake Funfetti Oreo Icebox Cake is more than just a dessert; it’s a slice of nostalgia that brings joy and comfort to any gathering. We encourage you to try this simple yet delicious recipe and share your experience with friends and family. Enjoy every bite of this indulgent treat, and don’t forget to let us know how it turned out for you!
FAQs
-
Can I use low-fat cream cheese?
- Yes, low-fat cream cheese can be used; however, it may alter the overall texture and richness of the cake slightly.
-
How long will this cake last in the fridge?
- The cake can last for up to 5 days if stored properly in an airtight container.
-
Can I freeze the cake?
- Yes, you can freeze the icebox cake. Just be sure to wrap it tightly to avoid freezer burn. Thaw in the refrigerator before enjoying.
-
What other cookies can I use?
- You can substitute Oreos with any favorite cookie, such as chocolate chip or ginger snaps, for a different flavor profile.
-
Is it necessary to use heavy cream?
- Heavy cream is recommended for whipping and achieving that light, airy texture. However, you can use whipped topping as an alternative if you prefer a non-dairy option.
Easy No-Bake Funfetti Oreo Icebox Cake
Ingredients
Main Ingredients
- 1 package (405 g) Oreo cookies These cookies offer a satisfying crunch that perfectly complements the creamy filling.
- 240 ml heavy cream Will be whipped to create a luscious, light layer in your cake.
- 120 g powdered sugar Helps stabilize the whipped cream while adding sweetness.
- 225 g cream cheese, softened Adds richness and tang to the cake.
- 1 teaspoon vanilla extract Enhances the cake’s overall flavor.
Instructions
Preparation
- Crush half of the Oreo cookies and set aside.
- In a bowl, whip the heavy cream and powdered sugar until soft peaks form.
- In another bowl, beat the cream cheese and vanilla extract until smooth.
- Fold the whipped cream into the cream cheese mixture.
- In a baking dish, layer the crushed Oreos followed by a cream layer. Repeat this until all ingredients are used, ending with the cream mixture on top.
- Top with remaining crushed Oreos and refrigerate for at least 4 hours or overnight before serving.